Mold or Efflorescence? How to Tell on a Florida Block Wall

BYSteve Jafari, General ManagerMIAMI-DADE, BROWARD & PALM BEACH
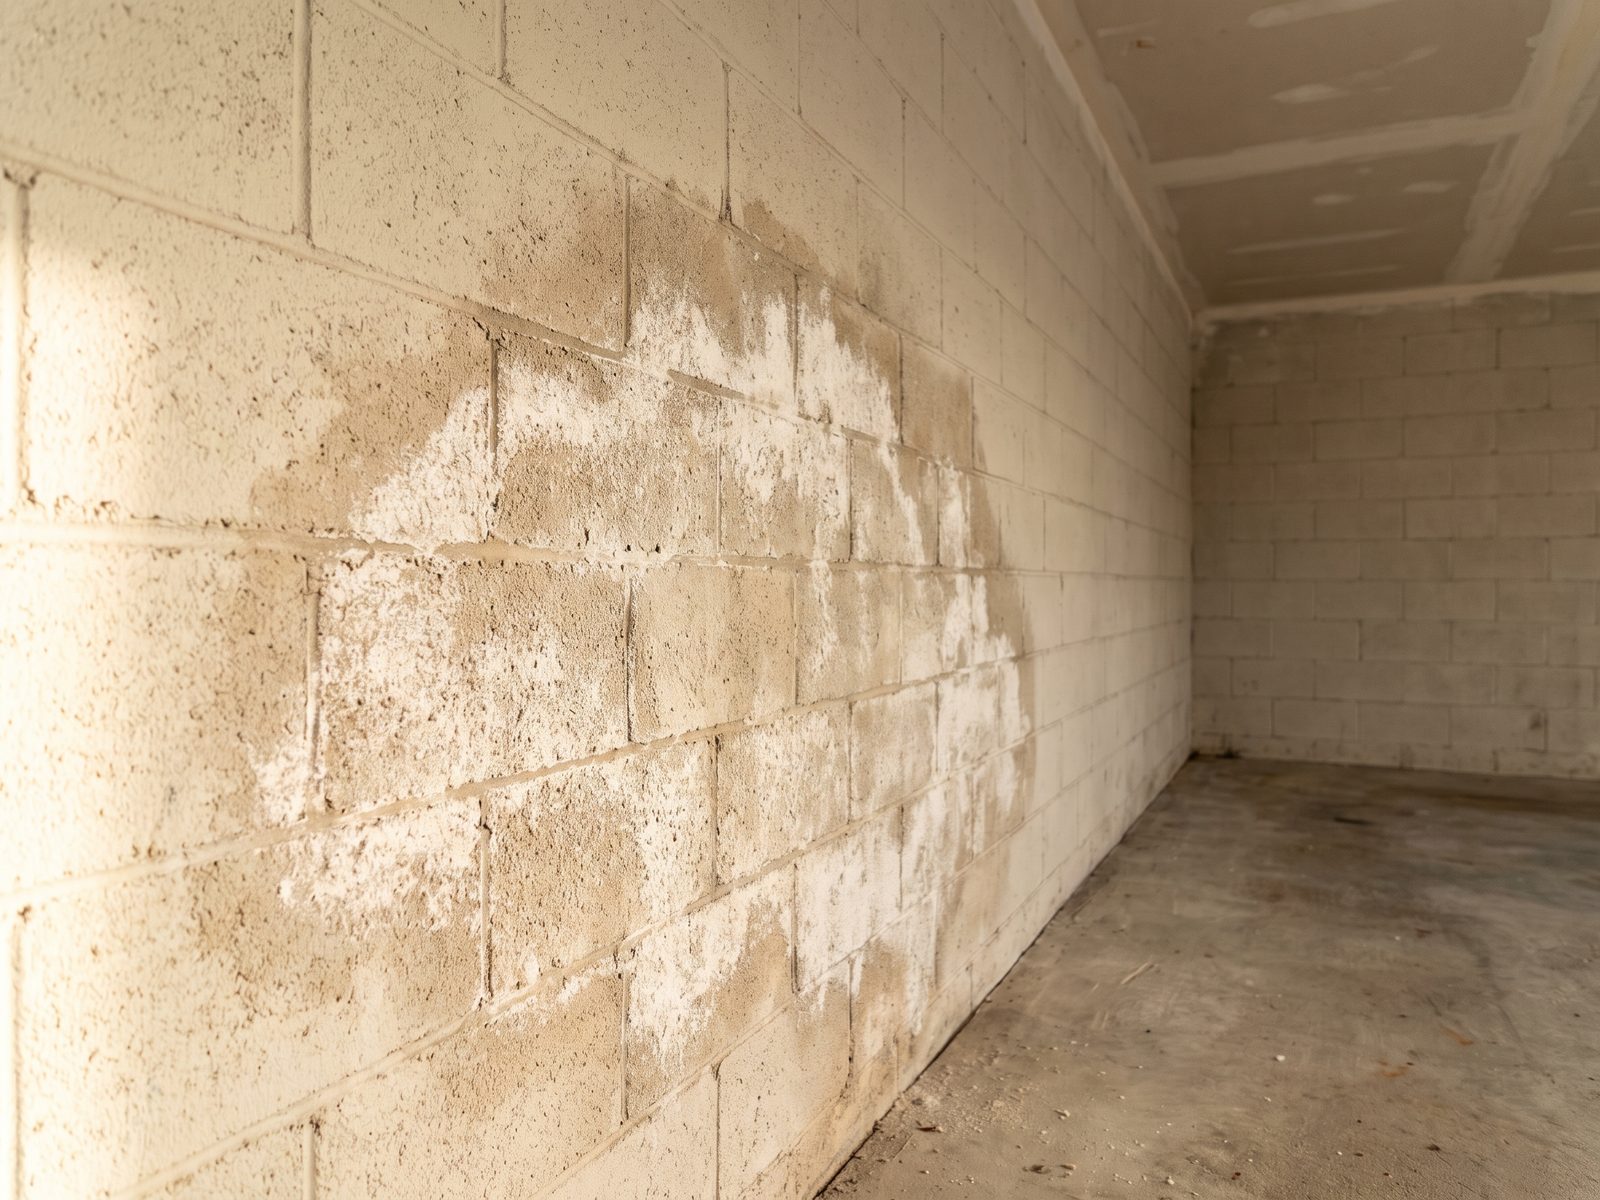
Efflorescence is mineral salt left behind when water moves through masonry and evaporates at the surface, while mold is biological growth, and on a painted block wall the two can look identical. Simple field checks usually separate them, but either finding says water is reaching the wall, so the moisture path is the repair that matters.
Call (786) 213-9489Is the white stuff on my wall mold or efflorescence?
If the deposit is white or light gray, sits on a concrete block or stucco wall, feels gritty, and brushes off as loose powder that leaves the paint intact underneath, it is almost certainly efflorescence rather than mold. Mold or efflorescence is the question we get asked most often on South Florida block houses, and the fastest honest answer is texture: salt crystals are hard and granular, biological growth is soft or slimy and smears rather than crumbles.
That said, the identification is only half the job. A wall does not grow salt crystals unless water has been moving through the block and evaporating at the face. So a clean efflorescence call is not an all-clear. It is a moisture report written on the wall in mineral form.
Salt and growth can also share a wall. We regularly find a chalky bloom on block and something biological a few inches away.
- Gritty, crystalline, brushes off dry, no smell, sits on masonry or stucco: read it as efflorescence first.
- Fuzzy, speckled, soft or slimy, often in clusters of dots, musty odor nearby: read it as biological growth.
- On paper-faced drywall, wood trim or cabinet backs rather than on bare block: growth is far more likely.
- A white bloom that returns within weeks of a wipe-down: active water movement either way.
What is efflorescence, and where does it come from?
Concrete block contains soluble mineral salts from the moment it is mixed, and so do mortar and stucco. When liquid water passes through that masonry, it dissolves some of those salts and carries them along. At the surface the water evaporates into the air and the minerals have nowhere to go, so they stay behind as a crystalline crust. That crust is efflorescence, and the process is plain chemistry rather than a defect in the block.
South Florida gives that process everything it needs. Homes here are concrete block and stucco rather than wood frame, which means the wall assembly itself is a mineral reservoir. Rain arrives sideways in the wet season. Irrigation hits the lower wall on a schedule. Salt air adds chloride along the coast from Key Biscayne to Miami Beach, and slab-on-grade construction puts the bottom of the wall close to wet ground.
Because the source is the wall itself, efflorescence shows up in predictable places: garages, utility rooms, the inside face of an exterior wall, and the low band of a stucco elevation. A new or newly stuccoed wall often blooms once in its first year, then stops.
What field tests separate mineral salt from biological growth?
Start with what your eyes and a gloved finger can settle, and stop before you reach for a household chemical. Neither bleach nor vinegar is a reliable identification test. Both change the look of almost anything on a wall, and spraying an unknown deposit can put spores into the air if it does turn out to be growth. The sequence below is the one our technicians run.
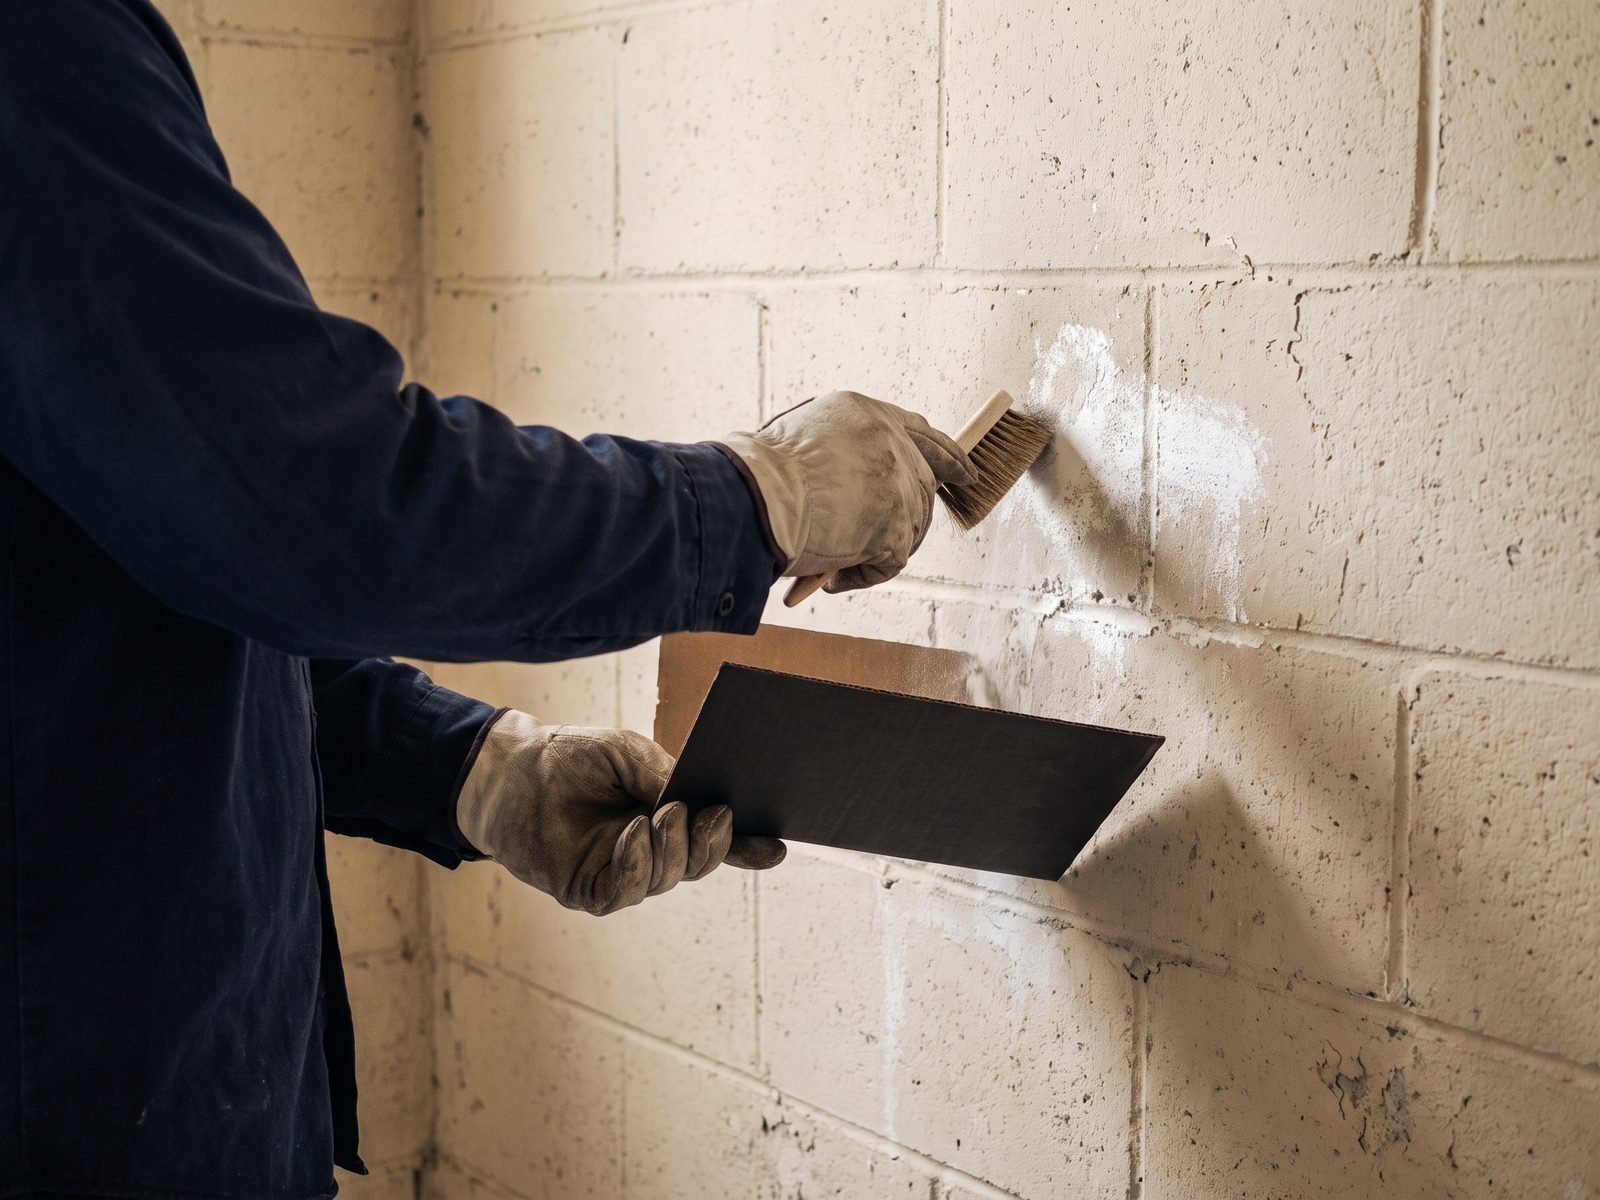
Work in good light and photograph the area before you touch it, because the first wipe destroys the evidence. Use a dry brush and a dark card so you can see what comes off. Then work the checks in order.
- 1. Look at the substrate. Bare block, mortar joint or stucco favors salt. Paper-faced drywall, wood trim, cabinet back or fabric favors growth, because those surfaces feed it.
- 2. Check the color and pattern. An even white or gray veil that follows mortar joints or a horizontal band reads as salt. Scattered dots or rings of color that spread outward read as growth.
- 3. Brush a small area onto a dark card. Salt falls as a dry granular powder. Growth smears, feels soft or greasy, and often leaves a stain behind on the wall.
- 4. Feel the crystal. Between gloved fingers, efflorescence is gritty like fine sand or table salt. Biological growth has no grit at all.
- 5. Smell the area, not the deposit. Efflorescence has no odor. A persistent musty or earthy smell in the room points to growth somewhere, even if this particular patch is salt.
- 6. Look at where it stops. Salt stays on the masonry and respects the joint pattern. Growth crosses material boundaries and climbs onto adjacent organic surfaces.
- 7. If two branches disagree, or the wall is finished rather than bare, stop and have the area assessed. A visual read cannot rule out growth inside the cavity.
Why does efflorescence still mean you have a moisture problem?
Salt cannot walk. For a mineral to arrive at the face of a wall, liquid water has to dissolve it, carry it and then evaporate, which means a wall showing efflorescence has had water moving through it. The size of the bloom says nothing about the size of the leak, but the presence of the bloom confirms a path. That is the piece most homeowners miss when a contractor tells them the white powder is harmless.
The common sources in a block house are unglamorous. Irrigation spraying the wall. A planter holding wet soil against the stucco. Grade that slopes toward the house. A failed window perimeter seal. A hairline stucco crack that opens after a storm. A slab edge with no capillary break, so ground moisture wicks up into the block.
That constant low-grade wetting is also what feeds mold on everything the block touches. A garage wall with salt on the block and cardboard boxes stacked against it is a mold problem waiting for the wet season. The EPA is direct about the underlying rule: fix the water problem, because mold control indoors depends on moisture control. Read the framing in Brief Guide to Mold, Moisture and Your Home.
Where does each one usually appear in a Florida block house?
Location is one of the strongest clues you have, because the two have different logistics. Efflorescence needs masonry and an evaporation face. Mold needs an organic food source and sustained dampness, so it lands on the finished materials sitting against that same wall.
Walk the house in a loop and read both faces of every exterior wall. Pay attention to the bottom three feet of wall and to any corner that never gets airflow. Move anything stored tight against masonry.
| Where you see it | More likely efflorescence | More likely mold |
|---|---|---|
| Garage or utility room block wall | Chalky white band low on the wall, following mortar joints, brushing off dry. | Dark speckling on stored cardboard, drywall above the block, or the back of shelving. |
| Interior face of an exterior wall | Powder pushing through paint in patches, worst after the wet season. | Fuzzy growth on the paper face of furred drywall, on baseboard, or behind furniture. |
| Exterior stucco near grade | White staining above a planter, an irrigation head or a downspout splash zone. | Green or black surface film, often algae rather than indoor mold, in permanent shade. |
| Around a window or door frame | Crystalline halo at the perimeter where water tracks out through the wall. | Growth on the interior casing, sill, drapery or the drywall return. |
Is efflorescence dangerous to live with?
Efflorescence is not biological. It does not colonize and it does not produce spores. It is not a mold exposure. The crust itself is a nuisance dust, and the advice is the ordinary one for fine dust: gloves, eye protection, a mask when you brush it, ventilation while you work. That is where the honest reassurance ends.
The risk attached to efflorescence is indirect and real. The water that carried those salts is still arriving, and in this climate a damp wall eventually supports growth on the organic materials around it. CDC guidance on mold and damp buildings is worth reading alongside any identification question.
Appearance alone is a weak basis for calling any growth safe or unsafe. Color tells you very little about what a growth is or does, which is why we push people away from eyeballing a patch and toward controlling the moisture. Our sister site restorationdoctors.com works through telling one growth from another by appearance, and the same logic applies here.
When should a sample actually be tested?
Most of the time, sampling does not change what happens next. If a wall is visibly growing something, the response is the same regardless of the genus: find the water, stop it, remove the affected material under control, and verify the area is dry. The EPA says as much in its guidance on mold testing or sampling, noting that in most cases sampling is unnecessary when visible mold growth is present.
There are still situations where a sample or a formal assessment earns its cost. They tend to involve a dispute, a medical reason to characterize the exposure, or a wall nobody can see behind. In Florida the two roles are licensed separately, under Florida Statutes section 468.8419: an assessor may not remediate a structure the assessor's company assessed in the last 12 months, and the reverse applies to a remediator, with an exception for certified Division I contractors.
- An occupant has asthma, an immune condition or an allergy history, and a physician wants the exposure characterized.
- The deposit fails the field checks in both directions, or two people who looked at it disagree.
- You need documentation for an insurance claim, a condo association, a sale or a tenancy dispute.
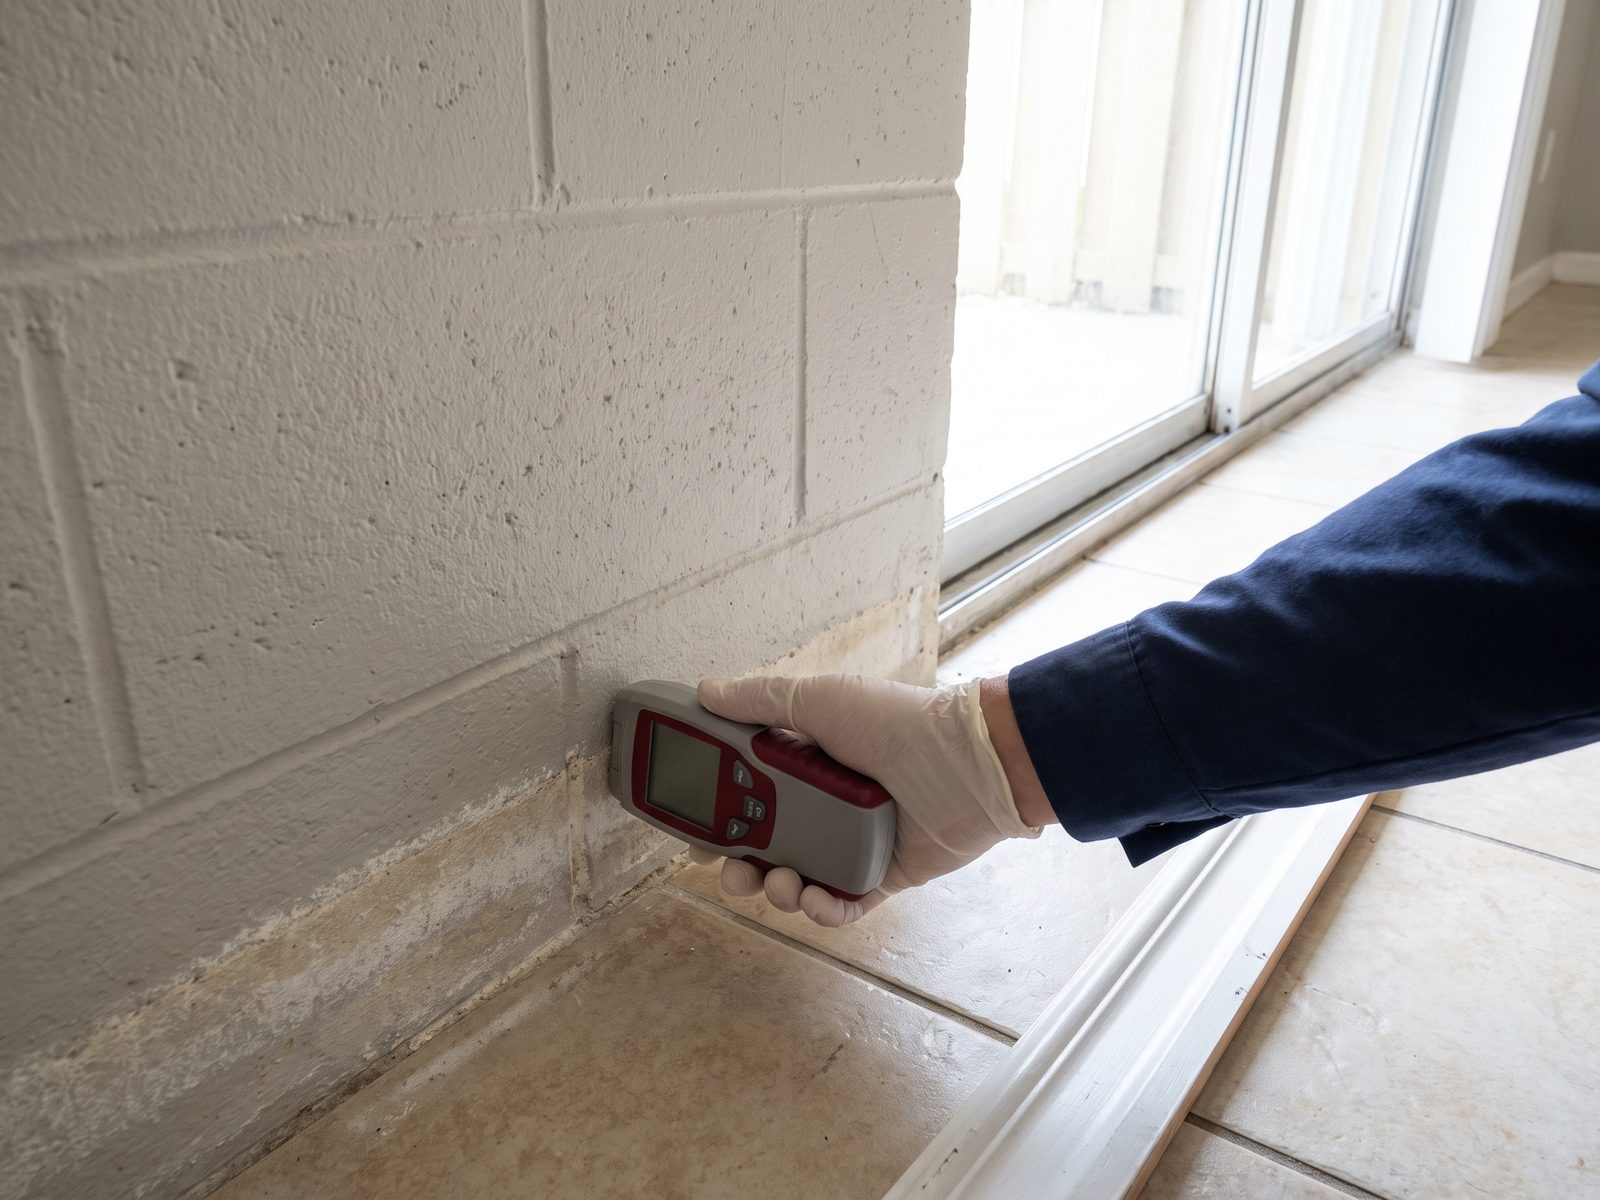
- A moisture meter reads elevated inside a wall cavity where nothing is visible on the surface.
- Remediation is done and you want independent verification before the wall is closed.
How do you fix the moisture path behind efflorescence?
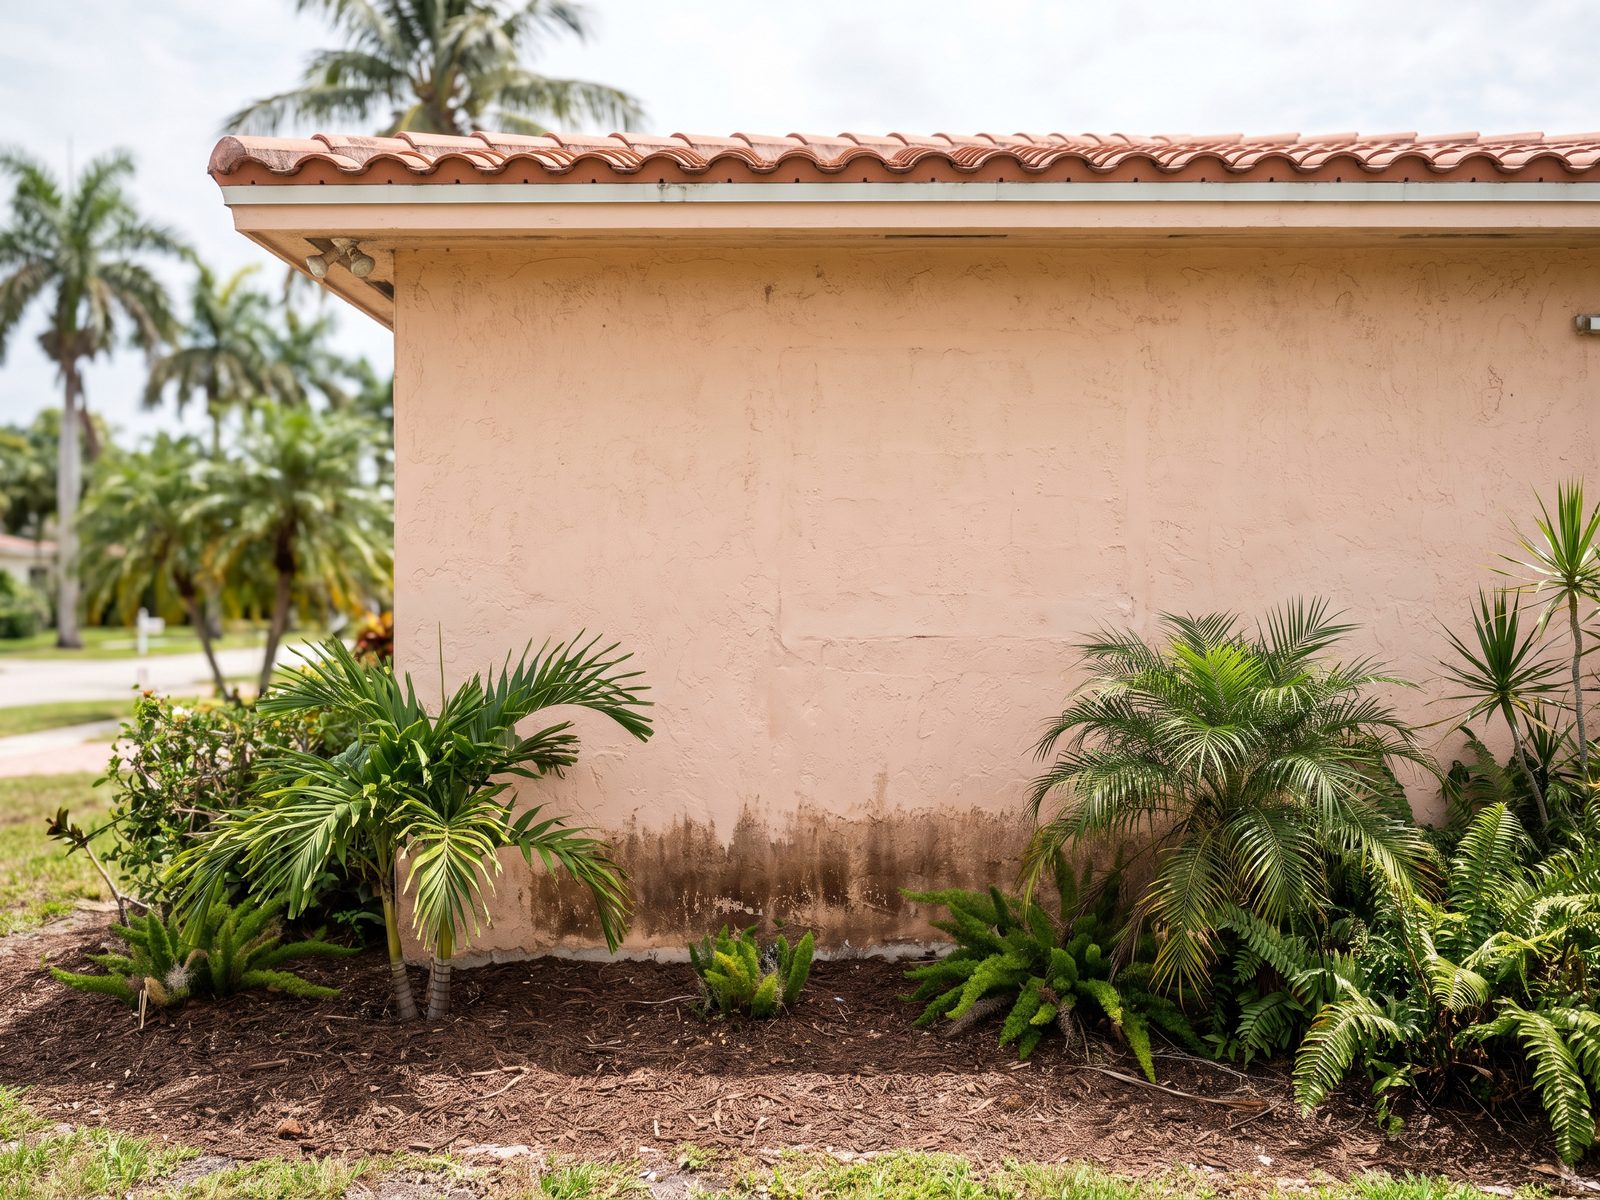
Cleaning the wall is the last step, not the first. Wipe the bloom off before you have found the water and it comes back after the next heavy rain. Start outside and work in, because on a block house the water almost always starts at the exterior or at the ground.
The exterior checklist is short and most of it costs an afternoon. Move irrigation heads off the wall. Pull mulch and soil down so the stucco is not buried against wet ground. Fix grade that runs back toward the house. Seal open stucco cracks and renew failed perimeter sealant with a compatible product.
Inside, dry the assembly and keep the room in a sane humidity band. The EPA recommends holding indoor relative humidity below 60 percent, and lower is better in a house that has been wet. Run the air conditioning rather than opening windows, because outdoor air in this region usually carries more moisture than the air already inside. Pull stored goods off masonry walls so air can reach the face and so cardboard is not acting as a wick.
Only then clean the surface. A stiff dry brush removes most efflorescence and a masonry cleaner handles the rest. Let the wall dry, then repaint with a breathable masonry coating so the block can still release vapor. A hard vapor-tight film on a wall that is still taking on water blisters later.
- Redirect irrigation and downspouts so nothing sprays or dumps against the wall.
- Lower soil and mulch away from the stucco line, then restore slope away from the house.
- Seal stucco cracks and renew window and door perimeter sealant before the next wet season.
- Brush and clean the deposit only after the source is fixed, then repaint with a breathable coating.
When does this turn into a mold remediation project?
The line is not the white powder. It is growth on materials, how much of it there is, and whether the wall cavity is involved. A small patch on a hard, non-porous surface is a cleaning task a careful homeowner can handle with protective equipment. Once growth is on porous materials or hiding behind a finish, you are into controlled removal.
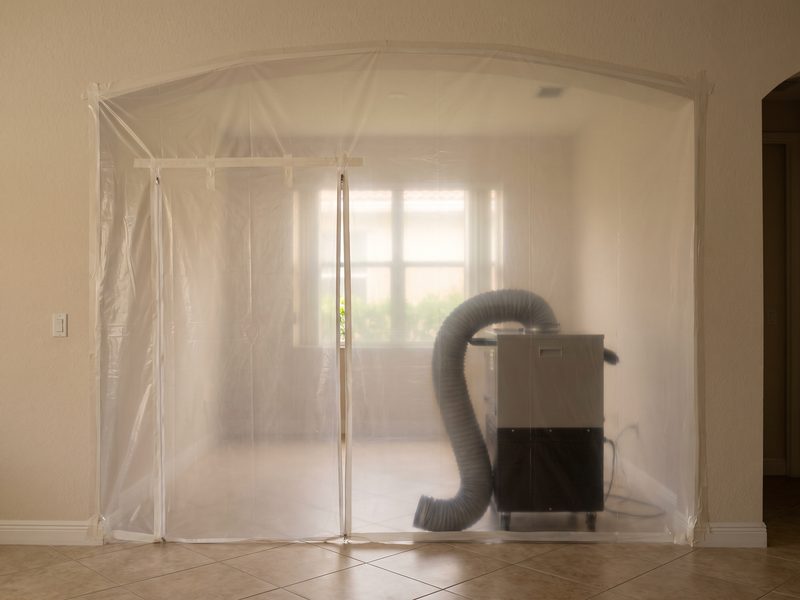
Professional work follows a standard rather than a preference. The IICRC S520 standard governs mold remediation and the IICRC S500 standard governs water damage restoration. The two meet on a wall like this. Water is stopped first and the assembly is dried to a documented standard. Affected materials then come out under containment with negative air and filtration. Verification comes at the end, not at the start.
For a Florida block wall the trigger is usually one of three findings. The moisture meter reads elevated in the wall after the obvious source is fixed. A pulled baseboard or a small inspection cut reveals growth on the back of drywall. Or odor persists in a closed room after cleaning. Each of those puts the problem inside the assembly, where a visual inspection stops helping. The standards and guidance behind this article:
- EPA, Brief Guide to Mold, Moisture and Your Home
- EPA, Mold Testing or Sampling, on when sampling is and is not needed
- EPA, Mold Course Chapter 2, on what mold needs to grow
- CDC, About Mold and Your Health
- Florida Statutes section 468.8419, prohibitions covering mold assessors and mold remediators
- IICRC standards, including S500 for water damage restoration and S520 for mold remediation