What Should You Do If You Find Mold Returning to Your Miami Condo?

BYSteve Jafari, General ManagerMIAMI-DADE & BROWARD
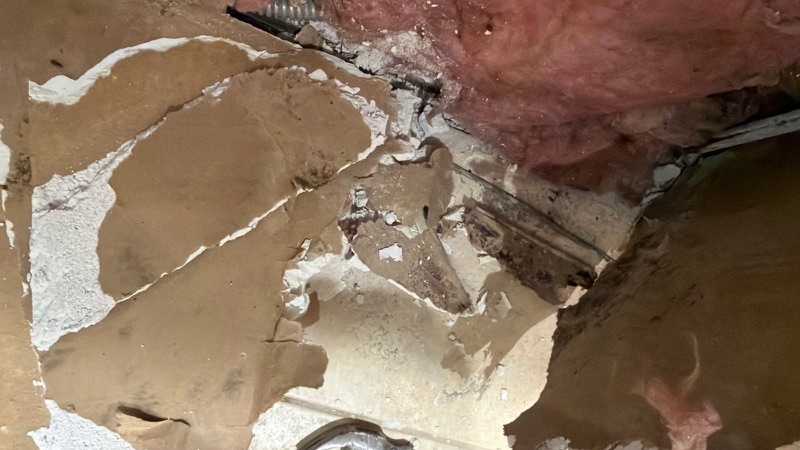
If you find vacant condo mold in Miami after returning, do not disturb anything yet: photograph and video the affected areas, shut down or adjust the air handler to stop spreading spores, and call for a professional assessment before any tear-out begins. Notify your condo association in writing the same day, because your declaration — not just Florida's statutory default — governs who is responsible for what. Mold can begin colonizing damp material within 24 to 48 hours, so a unit left closed for weeks has had ample time to develop hidden growth. Sequencing assessment before demolition protects both your health and your eventual claim file.
Call (786) 213-9489What should you do first if you find mold returning to your Miami condo?
If you discover vacant condo mold in Miami after time away, your first move is to stop, document, and avoid disturbing the growth. Resist the urge to wipe, scrub, bleach, or rip out drywall. Disturbing a mold colony releases spores into the air, spreads contamination into clean rooms, and can destroy the visual evidence you may need for your insurance file.
The sequence that protects both your health and your claim is simple: document the condition exactly as you found it, limit the spread, notify your association in writing, and get a professional assessment before any demolition. Each of those steps matters, and doing them out of order — especially starting demolition before documentation and association notice — is the most common and costly mistake Miami condo owners make.
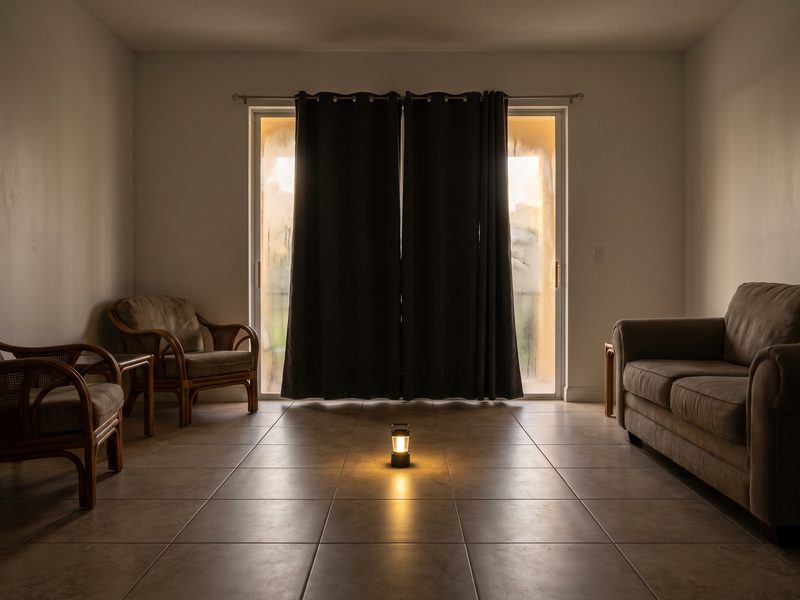
This is the classic discovery-loss scenario for snowbirds and part-time residents. A unit sits closed for weeks or months while South Florida outdoor humidity runs 60 to 80 percent, a supply line weeps or the AC quietly fails, and the owner returns to a musty smell, spotted walls, or buckled baseboards. The good news: handled in the right order, this is a manageable restoration. Restoration Doctor of South Florida runs 24/7 emergency dispatch across Miami-Dade and Broward counties — call (786) 213-9489 and we can assess the unit quickly.
Why does a vacant condo in Miami grow mold while you're away?
A vacant Miami condo grows mold because the two ingredients mold needs — moisture and time — are almost always present when a unit sits closed in a subtropical climate. South Florida outdoor humidity routinely sits between 60 and 80 percent, and mold can begin colonizing damp organic material within 24 to 48 hours. Leave a unit unattended for weeks and even a small moisture source has more than enough time to bloom.
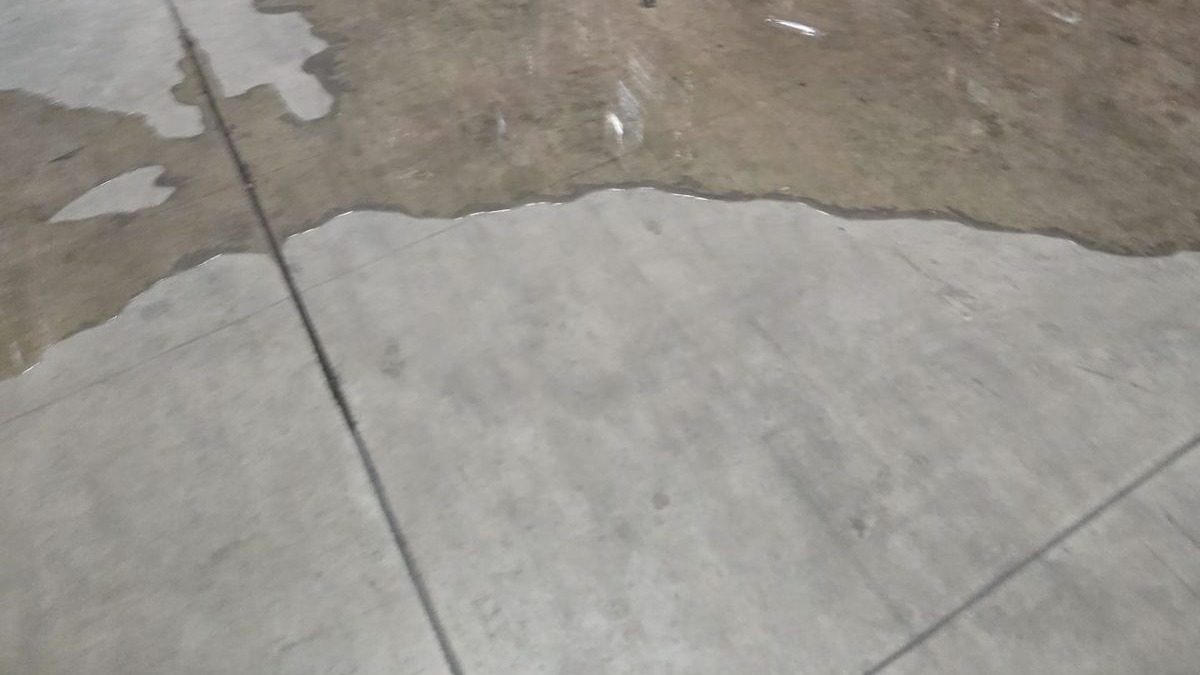
Condo mold while away usually traces back to one of a handful of culprits. A thermostat set too high — or an AC system that tripped a breaker or failed entirely — lets indoor humidity climb until it condenses on cool surfaces. A slow supply-line drip under a sink, a failed water heater, a clogged AC condensate line, or wind-driven rain from a summer storm can all introduce water that no one is there to notice or dry.
Because nobody is home to catch the first drip or the rising humidity, the problem compounds. What would have been a quick wipe-up on day one becomes saturated drywall, wet carpet pad, and mold inside wall cavities by the time the owner returns. That is why the vacant-unit scenario tends to be worse than a leak in an occupied home — not because the water is different, but because time ran unchecked.
- Thermostat left too warm or AC failure allowing indoor humidity to climb and condense
- Slow plumbing leaks under sinks, behind toilets, or at the water heater
- Clogged or disconnected AC condensate drain lines overflowing into the unit
- Wind-driven rain intrusion around windows, sliders, and balcony doors during storms
- Refrigerator ice-maker or washing-machine supply lines weeping unnoticed for weeks
How should you document mold damage before touching anything?
Document mold damage before touching anything by photographing and videoing every affected area wide and close, capturing the source if you can see it, and writing down the date you arrived and what you found. This documentation is the foundation of a carrier-ready claim, and it only exists if you capture it before cleanup or tear-out disturbs the scene.
Walk the unit methodically. Shoot a wide photo of each affected room, then move in for close-ups of stained drywall, spotted ceilings, swollen baseboards, warped flooring, and any visible water line. Open cabinets under sinks and photograph the plumbing. If you can safely identify the water source — a dripping valve, a failed water heater, a corroded condensate line — photograph it before anyone shuts it off or replaces it. Note what the unit smelled like and whether the AC was running when you walked in.
Keep everything. Save receipts for anything you buy to stop the damage, hold onto damaged items until an adjuster or restoration professional has seen them, and start a simple timeline: date you left, date you returned, date you noticed the problem, and date you reported it. When Restoration Doctor of South Florida arrives, we build on your early documentation with an Xactimate line-item scope, CompanyCam photo documentation, and daily moisture logs so your file is organized the way a carrier expects to receive it.
- Wide and close-up photos of every room and every affected surface
- Video narration walking through the unit describing what you see and smell
- Photos of the suspected water source before it is shut off or repaired
- Written timeline: departure date, return date, discovery date, reporting date
- Receipts and a saved inventory of damaged belongings — do not throw them out yet
When should you notify your condo association — and why does the declaration matter?
Notify your condo association in writing the same day you discover the problem, because in a condominium the line between unit-owner responsibility and association responsibility is set by your declaration — and the declaration can differ from Florida's statutory defaults. Water and mold losses almost always touch shared elements like pipes in common walls, the building envelope, or the AC system, so the association has a direct stake in how the problem is handled.
Your declaration of condominium is the controlling document. It defines where your unit boundary stops, what counts as a limited common element, and who is responsible for which components and repairs. Florida statute provides default allocations, but a declaration can and often does assign responsibility differently, which is exactly why you read your specific document rather than assume the statute controls. A leak originating in a common-element pipe may be the association's responsibility to repair at the source, while the drying of your contents and interior finishes may fall to you and your HO-6 policy.
Put the notice in writing — email is fine — so there is a timestamped record that you reported promptly. Ask the association whether they will dispatch their own vendor, whether the building has a required protocol for remediation work, and whether any shared elements are involved. Prompt written notice protects you two ways: it satisfies the cooperation your own policy expects, and it preserves your position if responsibility for the source turns out to belong to the building.
Why does assessment come before tear-out?
Assessment comes before tear-out because you cannot correctly scope, contain, or price a mold remediation until you know how far the moisture and growth actually spread — and tearing out materials blind can spread contamination, remove evidence, and under- or over-demolish. The ANSI/IICRC S520 standard for professional mold remediation calls for assessing the extent of contamination and establishing containment and engineering controls before disturbing affected material.
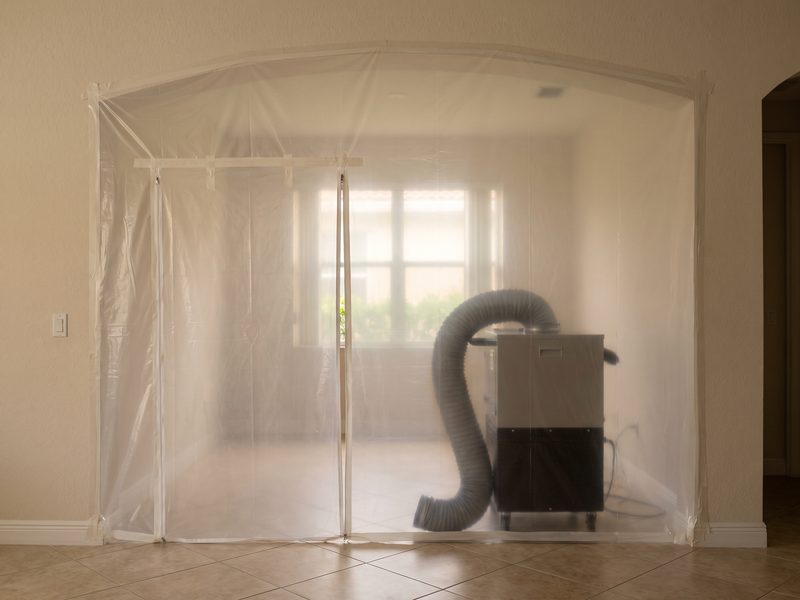
A proper assessment maps the problem with moisture meters and often thermal imaging, identifying wet wall cavities, saturated subfloor, and hidden growth that a visual inspection alone would miss. That map determines where containment goes, where negative air pressure and HEPA filtration are set up, and exactly which materials come out versus which can be dried in place. Demolition done before that map exists tends to breach containment lines that were never drawn, pushing spores into clean areas of the unit.
There is also a claim reason to assess first. The scope, photographs, and moisture readings captured during assessment become the backbone of your documentation. If a crew opens walls before any of that is recorded, the before condition is gone, and so is the clean line-item basis for the work. Restoration Doctor follows ANSI/IICRC S500 for the water side and S520 for the mold side so that assessment, containment, and removal happen in the correct order — not improvised on the fly.
| Step | Do this | Avoid this |
|---|---|---|
| 1 | Document the scene with photos and video | Wiping or bleaching visible mold immediately |
| 2 | Limit spread — adjust AC, isolate the room | Running fans that blow spores room to room |
| 3 | Notify the association in writing | Starting demolition before anyone is notified |
| 4 | Get a professional S520 assessment | Guessing how far the moisture traveled |
| 5 | Set containment, then remove materials | Open tear-out with no containment in place |
What belongs on a snowbird return-home checklist for mold?
A snowbird return-home checklist for mold should center on checking for moisture before you unpack, trusting your nose, and knowing who to call before you disturb anything. The goal is to catch a developing problem in the first hour rather than after you have spread spores by cleaning or settling in.
Before you haul in luggage, do a slow walk-through focused on the usual trouble spots. A musty or earthy smell the moment you open the door is the single most reliable early warning sign, often before you see any staining. Check the thermostat and confirm the AC is actually cooling and dehumidifying; a unit that reads 78 degrees and feels sticky has probably been humid for a while. Then look under every sink, behind toilets, around the water heater, at the AC air handler and condensate pan, and along baseboards and window sills for staining, buckling, or soft spots.
If you find active mold or standing water, treat the room as contaminated: close its door, keep the AC from recirculating that air into the rest of the unit, and call for emergency mold removal in Miami rather than clearing it yourself. Restoration Doctor of South Florida's dispatch runs 24/7 at (786) 213-9489, so you are not stuck managing a wet, musty unit alone on the night you arrive.
- Smell test first — a musty odor at the door is an early red flag
- Confirm the AC is cooling and pulling humidity, not just blowing air
- Inspect under every sink, behind toilets, and around the water heater
- Check the AC air handler, condensate pan, and drain line for overflow
- Scan baseboards, window sills, and sliders for staining or soft spots
- If you find mold or water, isolate the room and call before cleaning
How is emergency mold removal in Miami actually done?
Emergency mold removal in Miami is done by first stopping the moisture source, then containing the affected area, filtering the air, removing unsalvageable contaminated materials, drying the structure to a verified standard, and confirming the space is dry and clean before rebuilding. The governing framework is ANSI/IICRC S520 for mold and S500 for the underlying water intrusion, which keep the work orderly and documented rather than reactive.
In practice that means the water source is fixed or shut off, then a containment barrier is built so the work zone is sealed from the rest of the unit. Negative air pressure with HEPA filtration pulls airborne spores out of the contained space instead of letting them migrate. Porous materials that are saturated and colonized — drywall, insulation, carpet pad — are removed and bagged, while structural wood and other salvageable surfaces are cleaned and dried. Air movers and dehumidifiers then bring materials back to a documented drying goal, verified with moisture meters rather than guesswork.
Throughout, Restoration Doctor documents the work with CompanyCam photos and daily moisture logs, and the finished file is handed to you as the homeowner — Xactimate line-item scope, photographs, and readings — in carrier-ready form. We bill you directly and give you the organized file to submit, because we work for you, not your insurance company. Only after the space is confirmed dry and clean does reconstruction of removed finishes begin. You can see how this fits our broader workflow on our mold remediation and water damage restoration pages.
Who pays for vacant condo mold, and what does it cost?
Who pays depends on the source of the water and what your declaration and HO-6 policy say, and the cost depends on how far the damage spread — not on a flat rate. In a condominium, responsibility is split along the lines your declaration draws: the association may own the repair at a common-element source, while your policy typically covers your interior finishes, contents, and the mold cleanup inside your unit, subject to your deductible and any mold sublimit.
Mold remediation in a condo generally runs in the thousands, and the real driver is scope: how much water intruded, how far it traveled, how many materials had to be removed, and how many days of drying the structure required. A small, caught-early leak is a very different project from a unit that sat humid for two months with growth inside multiple wall cavities. Anyone quoting a firm figure sight-unseen is guessing — the honest number comes after an on-site inspection that establishes the actual extent.
A few financial specifics are worth confirming in writing. Check your HO-6 policy for a mold sublimit, confirm your deductible, and understand the critical South Florida distinction between wind-driven-rain damage (often covered under your policy) and flood (which usually requires separate flood coverage). Restoration Doctor of South Florida invoices you, the homeowner, and equips you with the documentation to pursue reimbursement from your carrier — we never bill the insurance company, so the claim stays fully in your control. Reach out through our contact page or call (786) 213-9489 for an assessment.